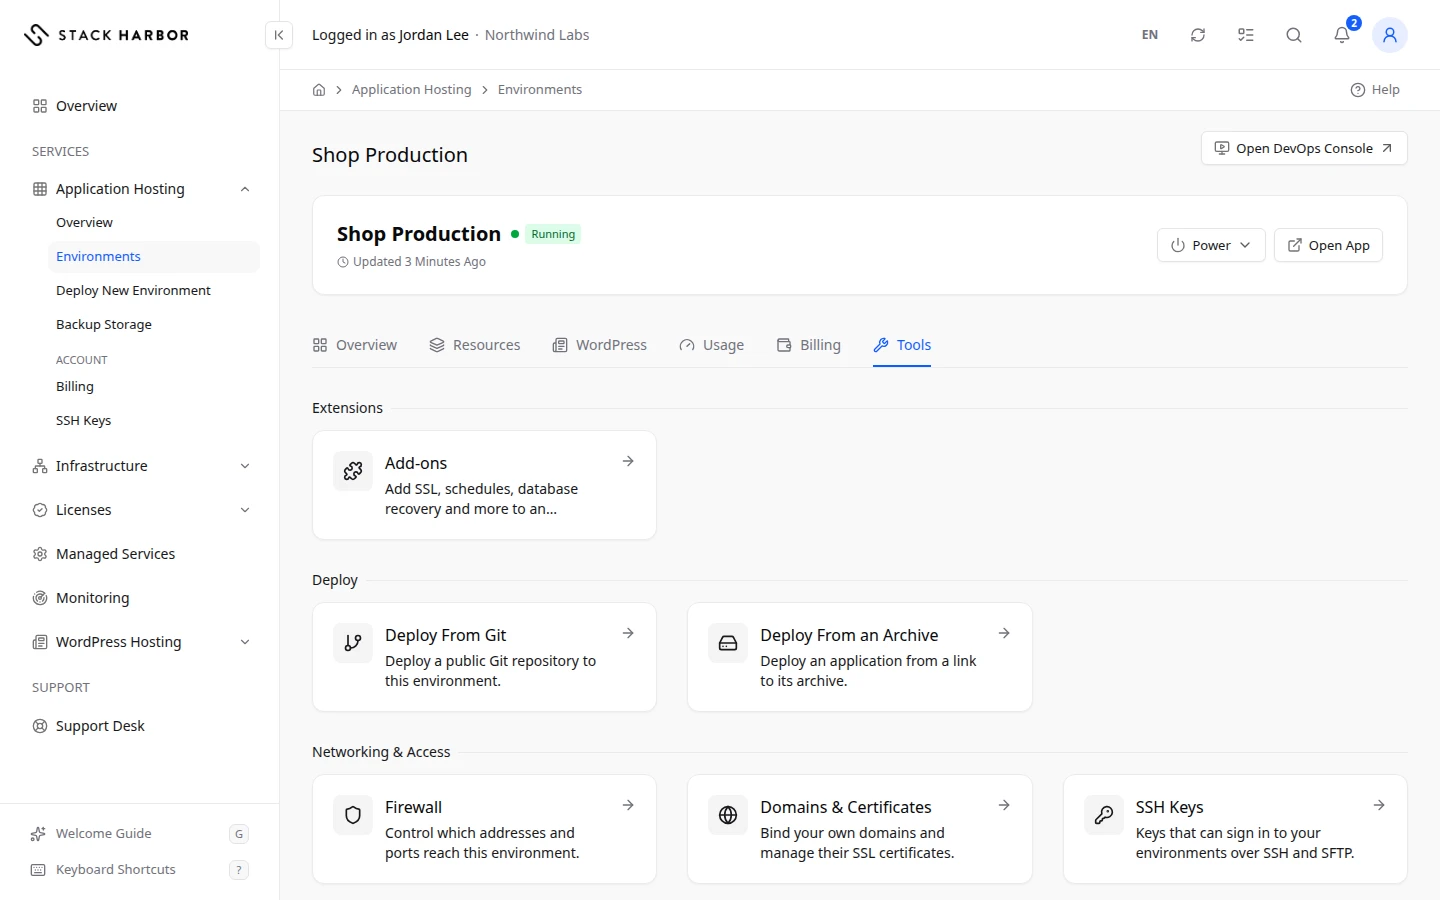
The Tools tab gathers what you can do with one environment. From here you deploy your code, manage its add-ons, and open its firewall, domains and SSH keys.
Open Tools
- Open the environment, then select Tools.
- The cards are grouped.
- Extensions has Add-ons, described further down this page.
- Deploy has Deploy From Git and Deploy From an Archive. They show only if you have file access on the service.
- Networking & Access has Firewall, Domains & Certificates and SSH Keys. See Set firewall rules for an environment, Add a custom domain and SSL and Add an SSH key for Application Hosting.
Deploy from Git
- Select Deploy From Git.
- Type the Repository URL. It must be a public repository on
https://, for examplehttps://git.example.com/northwind/shop.git. - Type a Branch if you don’t want the default one. This field is optional.
- Choose the Layer to deploy to. It must be an application layer.
- Set the Context.
ROOTserves the application at the environment’s address. Any other name serves it under that path, such as /shop. - Select Deploy. You see Deploy started.
Deploy from an archive
- Select Deploy From an Archive.
- Type the Archive URL, a direct https:// link to your archive, such as a .zip or .war file.
- Choose the Layer and set the Context, as for Git.
- Select Deploy.
A deploy replaces what is deployed at that context, and the application restarts during the deploy. You can follow it in Background Actions.
See the add-ons on an environment
Add-ons are ready-made extras that you install on a layer. Examples are a free SSL certificate, scheduled backups or a cache purge. Each add-on adds its own buttons, called actions, and some add to the layer’s resource use.
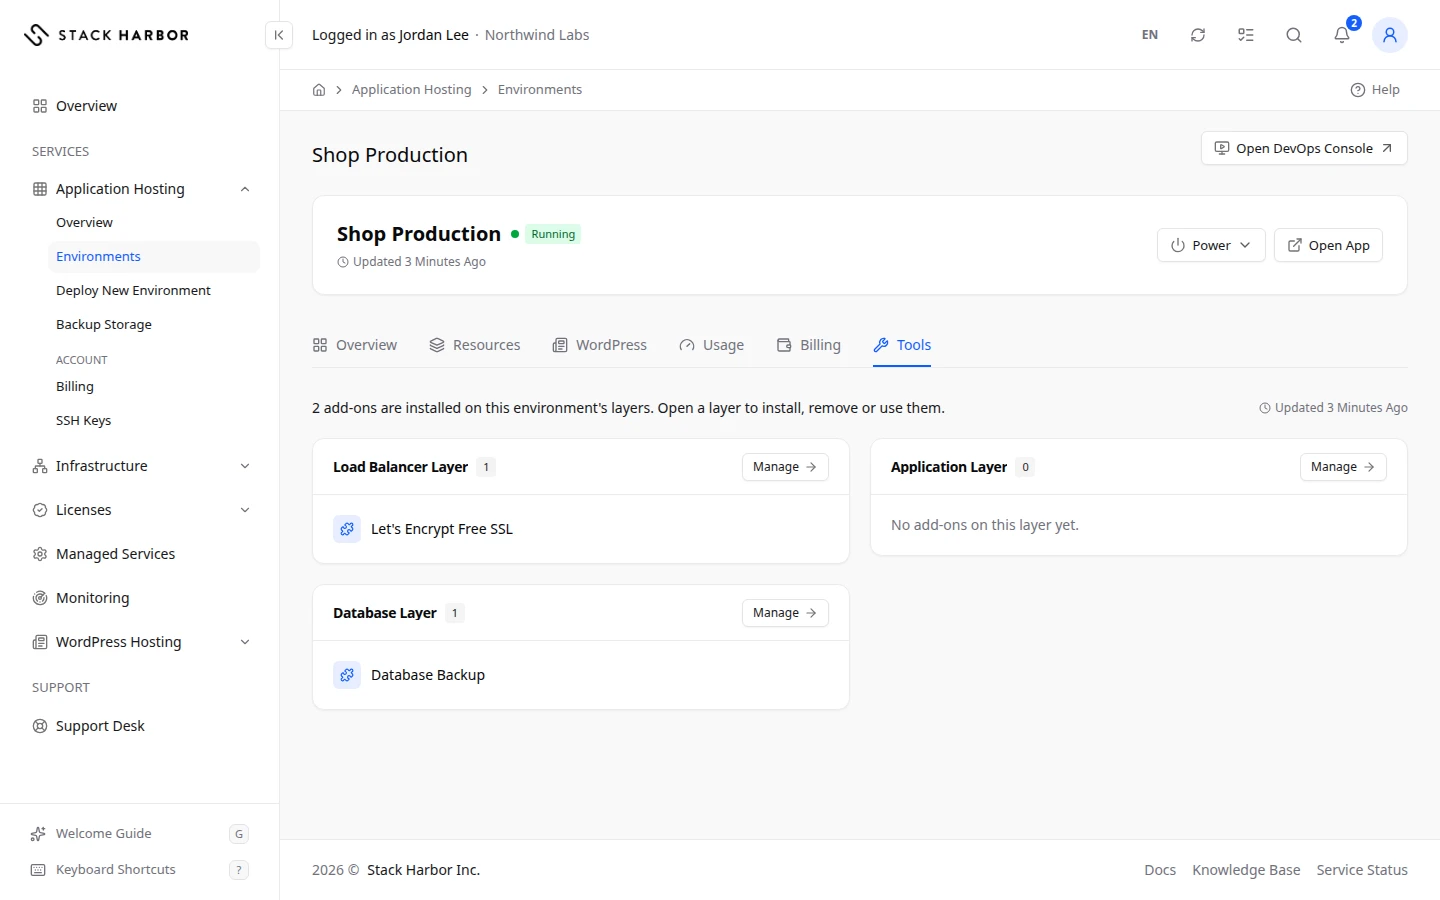
- Open the environment, then select Tools, then Add-ons.
- The page says how many add-ons are installed and lists each layer with its add-ons.
- Select Manage on a layer to open that layer’s page, where you install, use and remove them.
The environment must be running to install add-ons or use their actions.
Install an add-on
- On the layer’s page, find Add-ons. Available for This Layer lists what you can add. Select Browse All to see the full list, or Install Add-on.
- In Add an Add-on, search with Search Add-ons, then pick one. A Uses Resources badge means it adds to your resource use, which is billed as usual.
- In the Install dialog, check the Environment and Layer, and fill in any fields the add-on asks for.
- If the add-on has terms, tick I Accept These Terms.
- Select Install.
You can leave the page while it installs. When it ends, you see that it was installed, with any details the add-on sends back.
Use an add-on’s actions
- On the add-on’s card, select one of its action buttons. More actions are under its menu.
- Some actions ask you to confirm or to fill in a short form. Select Apply to run it.
- To read what an add-on did, select Show Logs.
The Quick Actions card on the environment’s Overview shows the same buttons, so you don’t need to open the layer each time.
Uninstall an add-on
- On the add-on’s card, open its menu and select Uninstall.
- Confirm. This runs the add-on’s own removal steps on the layer.
Add-on badges
- Installed means it’s on this layer.
- Managed by Stack Harbor means we look after it. You can’t change or remove it.
- Permanent means it can’t be uninstalled.
- View Only means you can see it but not change it. Contact support if it needs a change.
If something goes wrong
- Only https:// URLs are accepted. Use an https:// link.
- Remove the user name and password from the URL. Only public links are accepted. Private repositories aren’t supported here.
- That URL’s host name does not resolve. Check the address for a typo.
- Git deploys for Java need a build step. Upload a .war with Deploy From an Archive instead.
- This environment has no application layer to deploy to. Add an Application Node layer first.
- You need file access on this service to deploy. Ask the account owner.
- Another add-on operation is running on this layer. Wait for it to finish.
- Start the environment first.
- The add-on took too long to answer. It may still finish; check again shortly. Open Show Logs to see where it stands.
- This add-on needs an option we can’t show here yet. Our team can run it for you. Select Contact Support.
- If you can’t install or use add-ons, the page names the permission to ask the account owner for, such as Install & Remove Add-ons or Use Add-on Actions.
Fields and statuses
What each item on this page means, what it does and how to read it.
- Repository URL Field
-
What it is. The address of the public Git repository to deploy.
What it does. Lighthouse fetches the code from it.
How to read it. Must start with https:// and contain no user name or password.
- Branch Field
-
What it is. The Git branch to deploy.
How to read it. Optional. Leave it empty to use the repository’s default branch.
- Archive URL Field
-
What it is. A direct https:// link to your application’s archive, such as a .zip or .war file.
What it does. Lighthouse downloads it and deploys it.
- Layer Field
-
What it is. The application layer the code goes to.
How to read it. Only application layers can take a deploy.
- Context Field
-
What it is. The path the application is served under.
What it does. ROOT serves it at the environment’s address. Any other name serves it under that path, such as /shop. A deploy replaces what is at that context.
- Installed Status
-
What it is. The add-on is installed on this layer.
- Managed by Stack Harbor Status
-
What it is. Stack Harbor looks after this add-on for you.
What it does. You cannot change or remove it here.
- Permanent Status
-
What it is. The add-on cannot be uninstalled.
- View Only Status
-
What it is. You can see this add-on but not change it.
How to read it. Contact support if it needs a change.
- Uses Resources Status
-
What it is. The add-on runs its own processes on the layer.
What it does. It adds to the layer’s cloudlet use, which is billed as usual.
- I Accept These Terms Field
-
What it is. Your agreement to the add-on’s own terms.
What it does. Required before the add-on can install.
- Show Logs Option
-
What it is. Opens the add-on’s log.
What it does. Shows what the add-on did, with the most recent part first when the log is long.
- Uninstall Option
-
What it is. Removes the add-on from the layer.
What it does. Runs the add-on’s own removal steps.